

Install Esment on your Mac
Getting Esment running takes about five minutes and three things: downloading the app, dragging it into your Applications, and following a short setup wizard the first time you open it. This guide covers all three.
What you need
- A Mac running a recent version of macOS.
- A few minutes and an internet connection for the download and activation.
- Optionally, one or more AI apps you already use — Claude, Cursor, ChatGPT and others — so you can connect them at the end.
The app works entirely on your Mac. You’ll activate a license to use it, but there’s no separate account or sign-in required for the app itself to work.
Download & install
Start the download, then install the app the standard Mac way.
- 1Open the download page and click Download for Mac. A file ending in .dmg is saved to your Downloads.
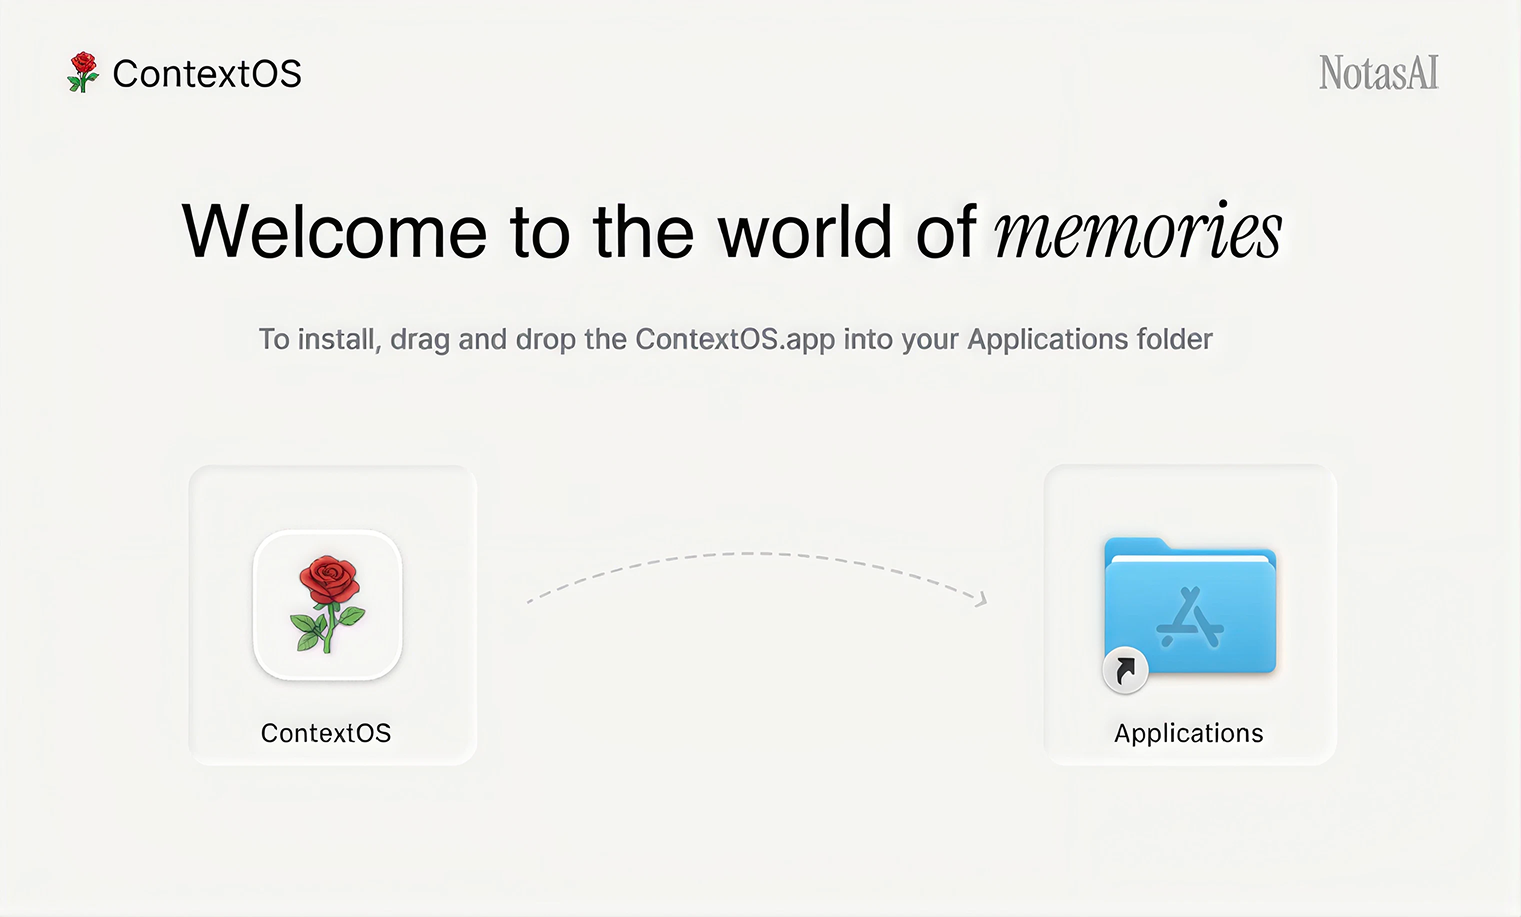
- 2Double-click the downloaded .dmg file. A window opens showing the Esment icon and an Applications folder.
- 3Drag the Esment icon onto the Applications folder, exactly as the window shows.
- 4Wait for the copy to finish, then close the window. You can now eject the disk image and delete the .dmg from Downloads — it’s no longer needed.
Opening it the first time
Because Esment was downloaded from the web, macOS asks you to confirm the first time you open it — this is normal for any app installed outside the App Store.
- 1Open your Applications folder and double-click Esment.
- 2If macOS shows a note asking whether you’re sure you want to open it, click Open.
- 3Esment starts and the first-launch setup wizard appears.
If macOS blocks it, open System Settings → Privacy & Security, scroll to the bottom, and click Open Anyway next to the Esment message. Then try opening the app again.
The setup wizard
The first time Esment opens, it walks you through a short five-step wizard. You can move through it in a couple of minutes, and you can skip any step and finish it later.
Step by step
1 · Welcome
A short introduction. Click Get started to begin.
2 · License
Esment needs an active license to run. Paste the license id from your plan to activate it. If you’d rather do this later, click Skip for now — you can activate any time from Settings.
Not sure which plan you need, or where to find your license id? The licenses guide covers plans, activation and billing in full.
3 · Connect
This step is automatic. Esment starts its memory engine on your Mac and signs itself in for you — there’s nothing to type. When you see a green Connected message, click Continue.
If this step reports that the engine hasn’t started, it usually just means no license is active yet. Go back one step, activate a license, and it will connect.
4 · Assistants
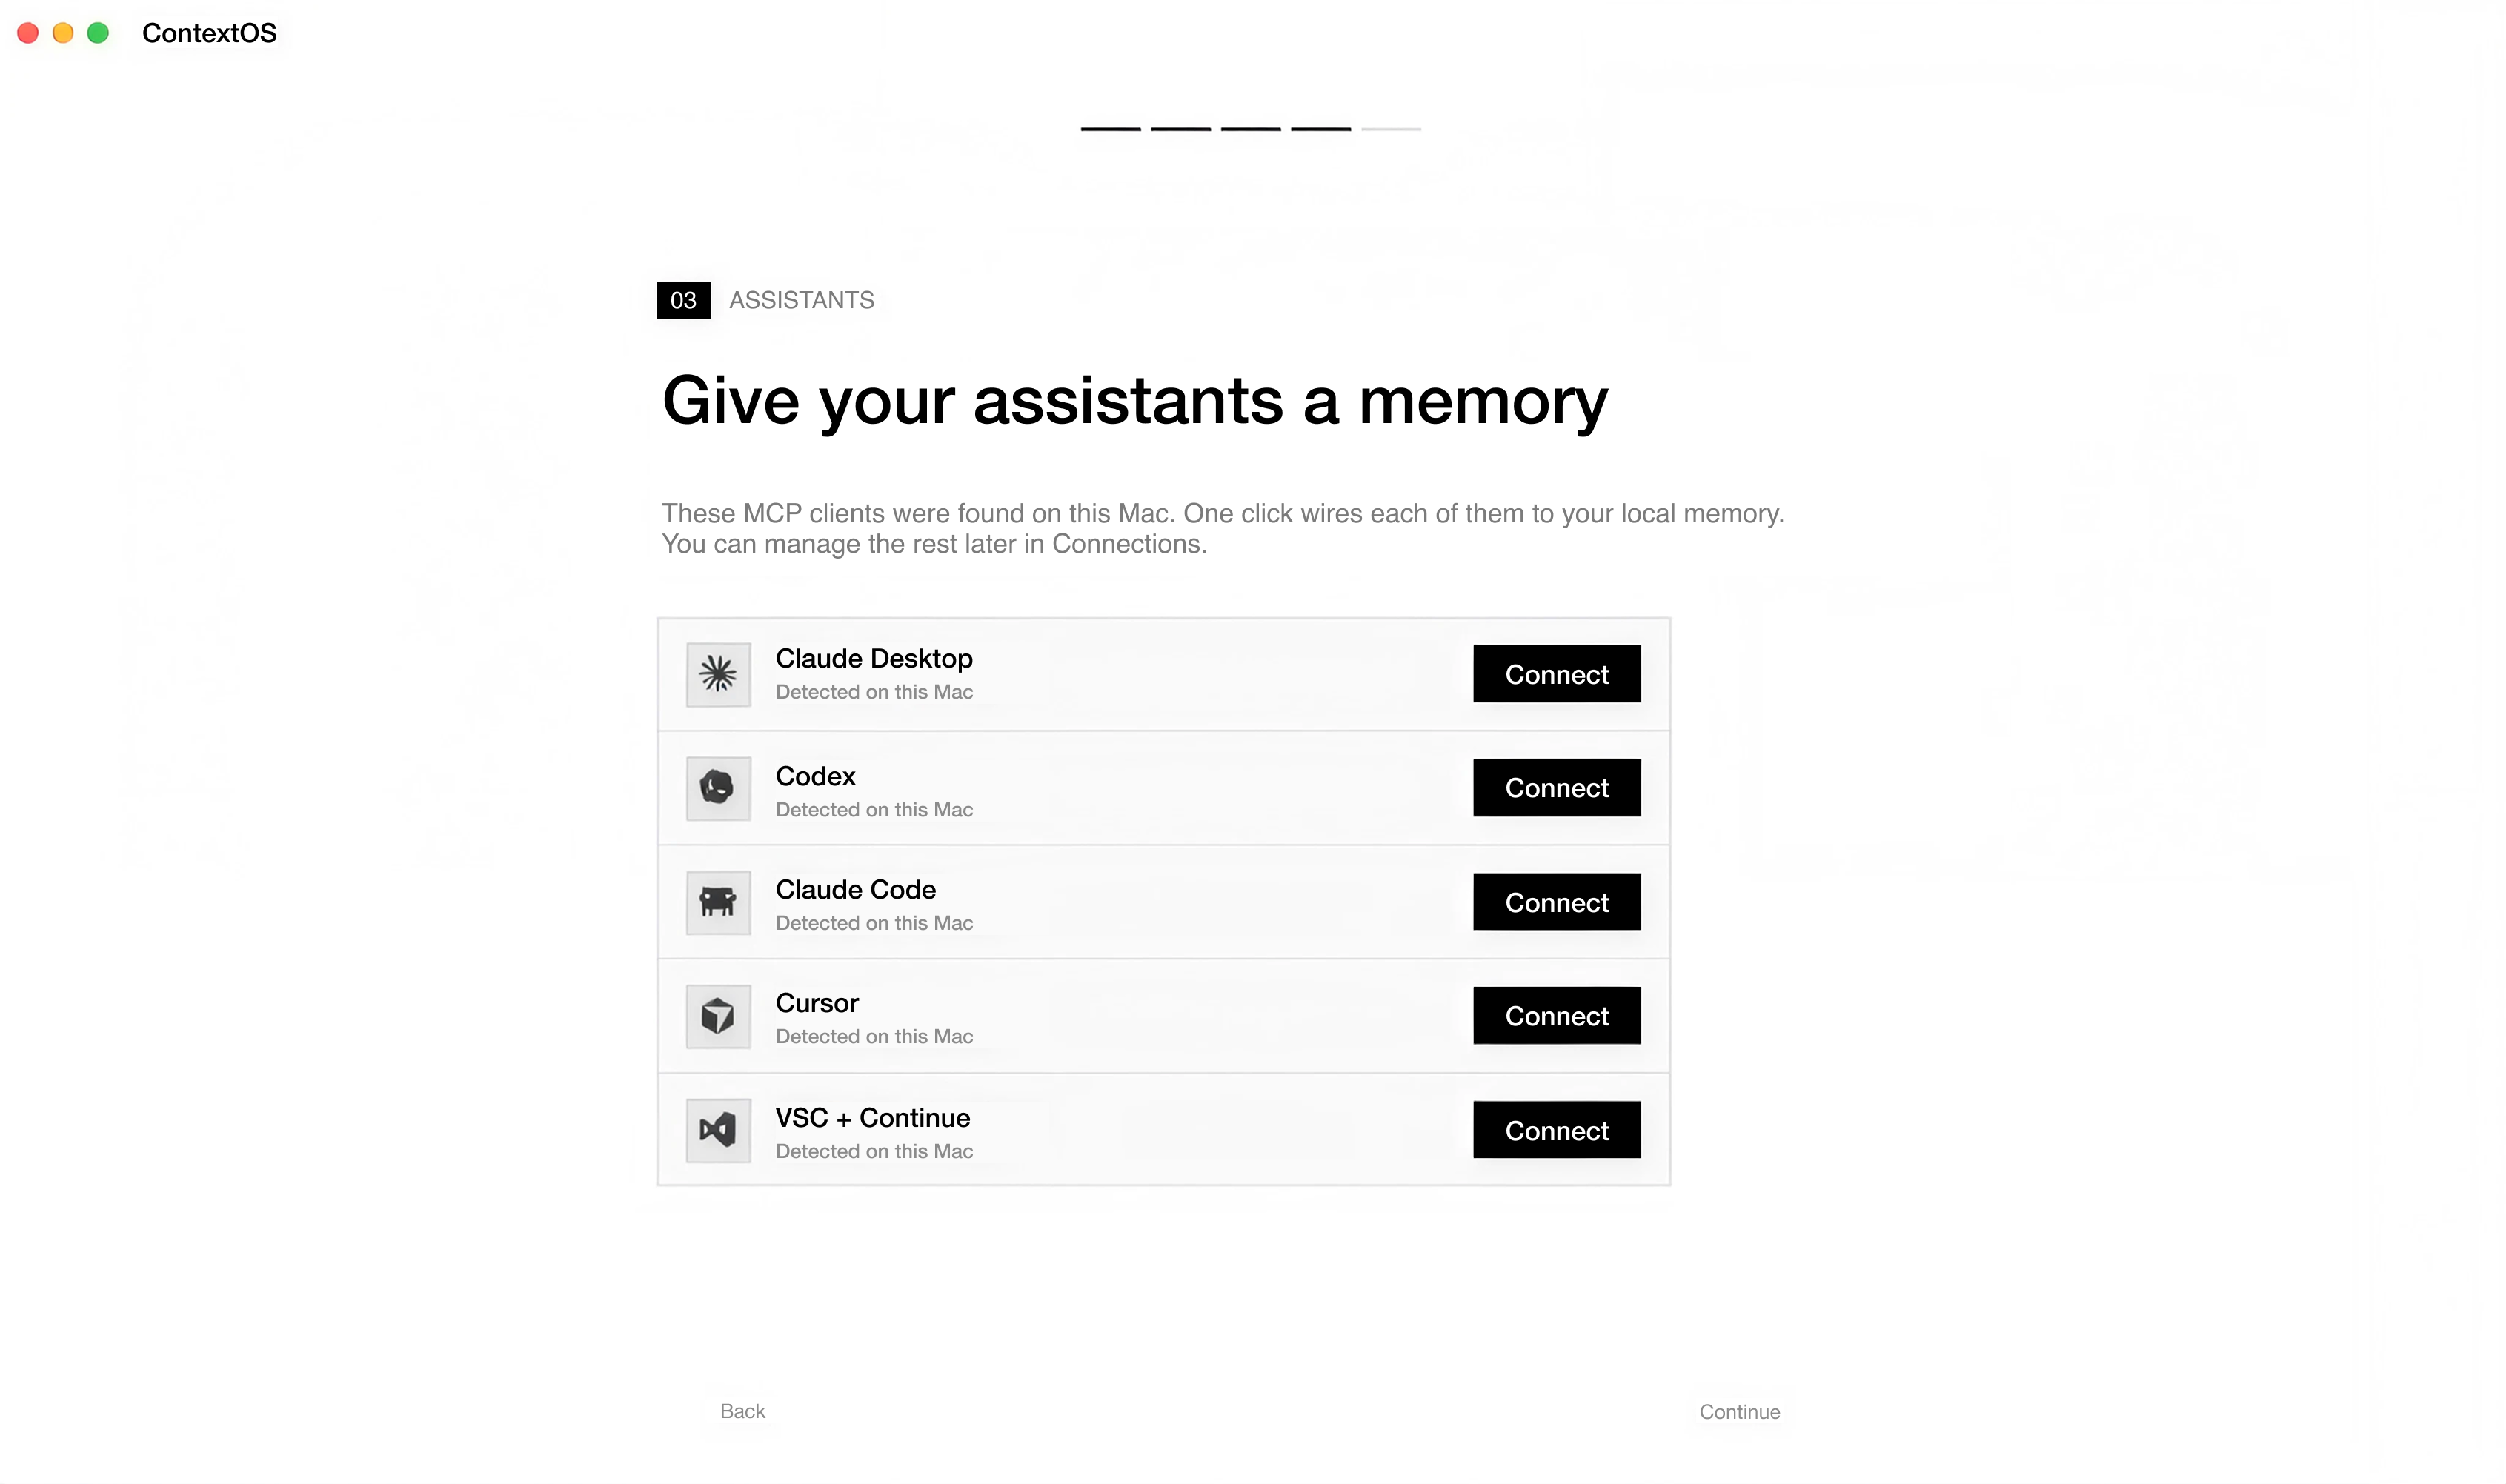
Esment looks for AI apps already installed on your Mac — like Claude Desktop and Cursor — and lists them. Click Connect next to any of them to wire it to your memory in one click. Don’t worry if you skip this; you can connect apps any time from the Connections page.
After connecting an app here, you’ll need to fully quit and reopen it so it picks up the change. The connection guide explains exactly why and how.
5 · Ready
A quick recap of what’s set up. Click Enter Esment to open the main app.
You’re set up
The app is installed and running. From here, the usual next steps are:
- 1Activate a plan, if you skipped it during setup.
- 2Connect your assistants so they start using your memory.
- 3Then just talk to them normally — Esment remembers what matters as you go. See memories, blocks & profile to learn how.